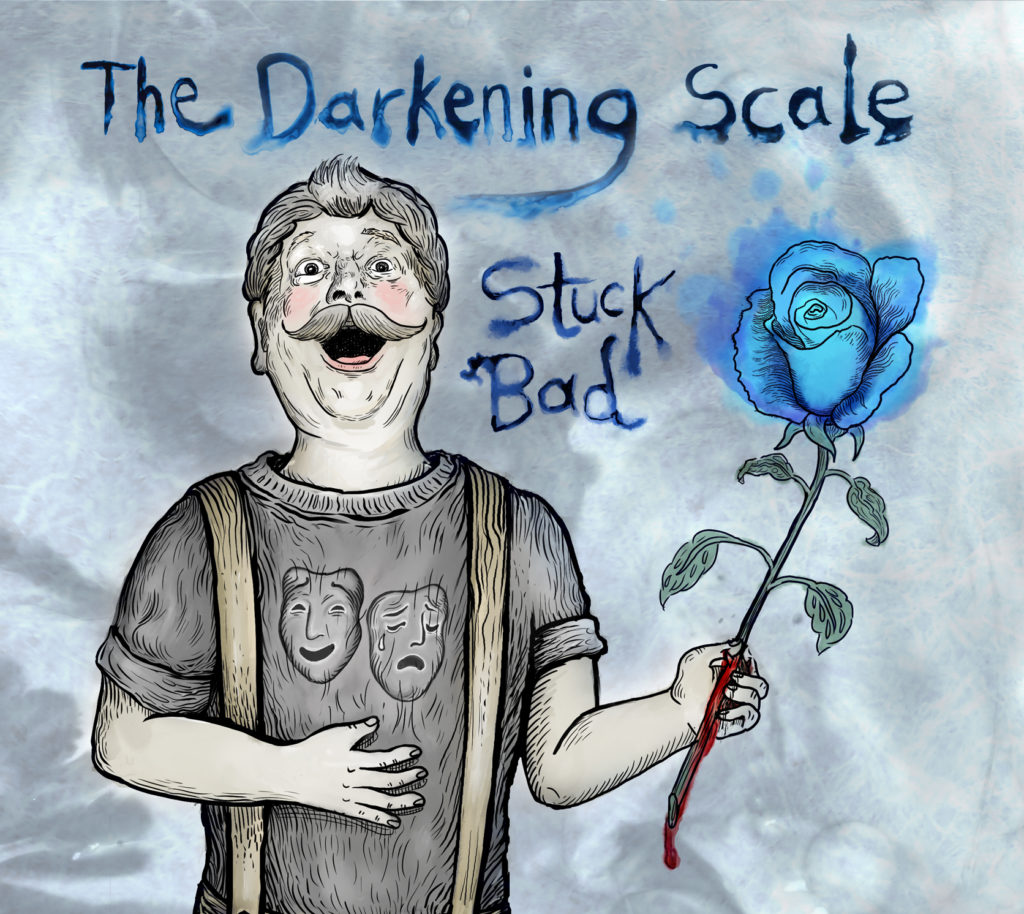
Occasionally I get asked about my process, which is cool because I’m always happy to talk about it. This time I figured I’d put it into a blog post so I have somewhere to point to for people who are interested in how I do a color pen and ink piece. Perhaps I’ll do another on gouache later. Watch the video for a time lapse version of the piece pictured below. Turn down your sound if you don’t want to listen to bird singing ;D
So first thing I do is make a pencil drawing on watercolor paper. For pen and ink I really like Fabriano Artistico hot press watercolor paper because it’s 100% cotton and it’s durable with a very smooth surface. Any quality 100% cotton hot press paper is probably fine, it’s harder to achieve a nice even wash on a lesser paper so I invest in the good stuff because it makes life easier. When I do a pencil sketch on the paper, I try to be as minimal as possible, and draw as lightly as possible because I’m going to be erasing it.

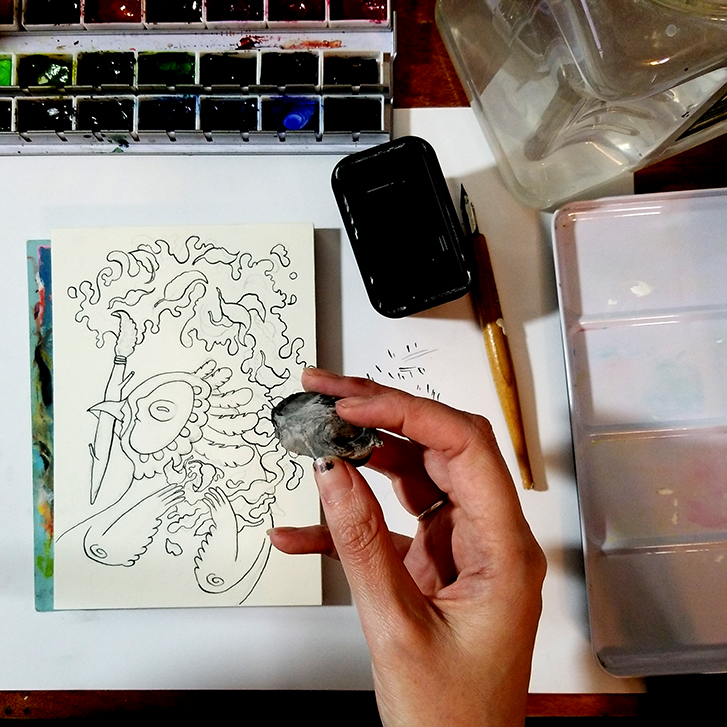
After pencil sketch is complete, I do the main outline of my composition with a dip pen (G nib or Mapping Nib), or a micron. Then I wait until the ink is dry, depending on pen used it can vary. A few hours and I’m usually good, maybe less if I’m using a particularly fast drying pen. (side note: sometimes I make lines on a piece of scrap at the same time as doing the outline, so I can brush water over the line that’s on scrap after I think it’s dry, to test and make sure it’s dry – some waterproof pens take a while to become waterproof even after they seem dry). Then I erase the pencil, usually with a kneaded eraser.
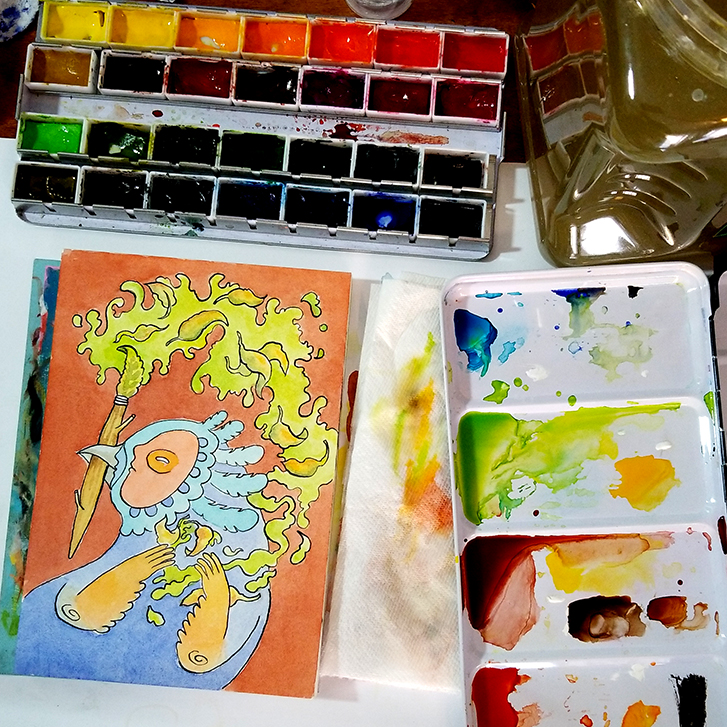
And then I’m ready to do the color. It’s very much like filling in a coloring book at this point but with watercolor paints. Right now I’m using Mission Gold watercolors. They’re vibrant and work well with my pen and ink style. Any quality watercolor would probably do – I avoid student grade because it sucks (LOL) also, it might leave too much binder on the surface which may effect doing pen over the top later (it might gum up the pen which is frustrating).
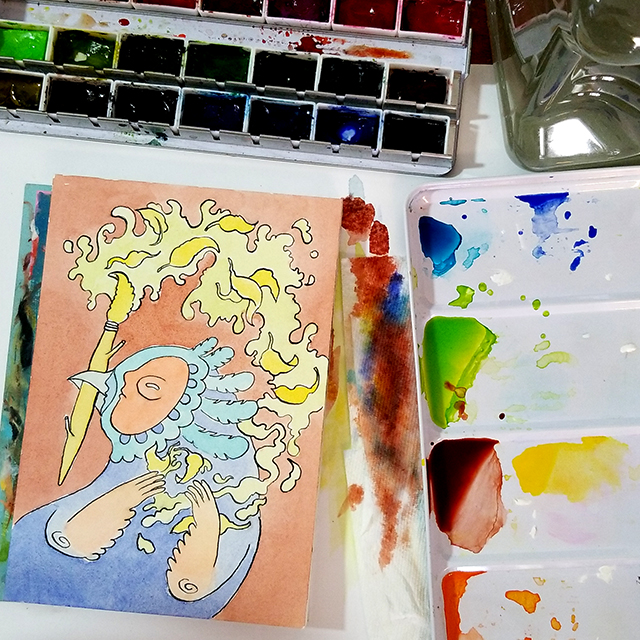
When it comes to watercolor, I’m very much into glazing. That means I like to do lighter/thin multiple layers to build up color. I usually like doing the coloring with a 4, 8 and 12 round watercolor brush (For doing small paintings 8″ X 10″ or smaller thereabouts, I’m working on a 5″ x 7″ here). Brushes that are too small for the job will tend to result in an uneven wash because small brushes don’t spread the paint around as fast or as well as a larger brush. One of my go-to brands for brushes recently is Princeton Velvetouch I’ve found them to be a solid value, the rounds come to a nice point and they last a fairly long time.
One thing that is important (but sometimes still forget to do) when it comes to watercolor is making sure to mix up more than enough paint to fill in an area, and have it mixed with the right amount of water ahead of time. It’s too hard to match the mix on the fly. Also I always have my brushes, clean water, some towels and some scrap paper ready before starting to paint. Taking time to mix color or pause for whatever reason in the middle of painting a shape will increase the chance it will dry unevenly and blotchy, so… gotta be ready. There is more to say about the basics of watercolor but I think at this point I’m just going to refer you to The Mind Of Watercolor channel on Youtube because this guy is way more knowledgeable than me about the subject and he’s already got a bunch of great tutorial videos that teach the basics. I did some trial and error trying to figure out watercolor on my own at first and I really wish I had just watched this guys videos earlier. Once you understand how watercolor works, things like the various stages of dryness and all that…. oh man… it’s a lot easier to get good results.
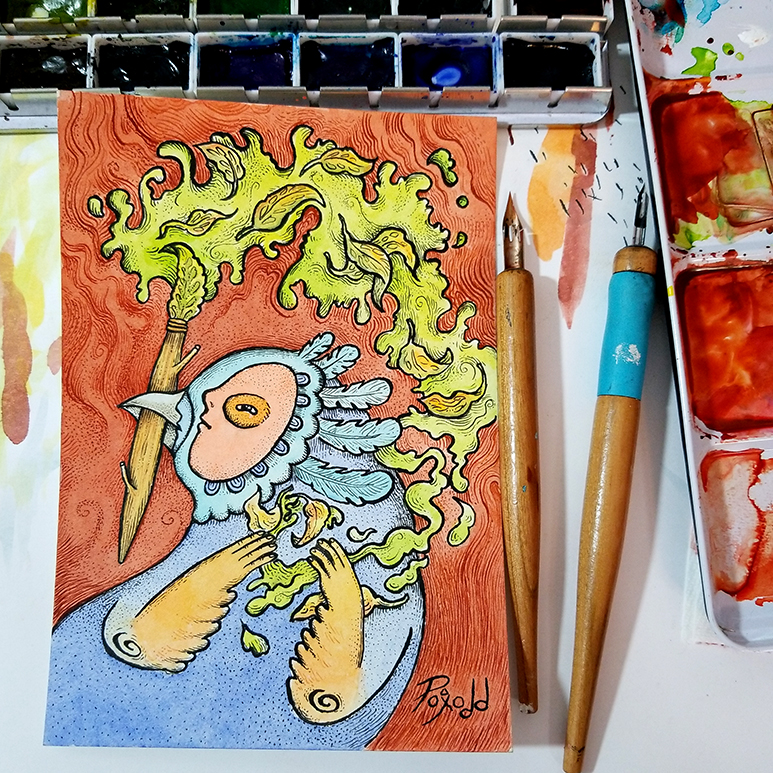
So yeah, as I said, glazing… I basically do 2 or 3 layers of watercolor on top of each other (making sure it’s dried to bone dry between each later). The watercolor painted part is then complete. Time for pen details! Most of the time I start by going back over the outline in a lot of places, making it a little fatter and more tidy. Then I do stippling and line shading all over. As far as pens go I like a dip pen and blick black cat ink, but a micron is good too (microns put down a line that is less dark and juicy with ink than a dip pen, but they are less messy and less prone to smudge). Also the micron is more of an even line where is the dip pen you can go thick or thin easier. I also like to use colored microns or watercolor in a dip pen to do colored lines and stippling sometimes instead of black ink. That’s basically it! Hopefully that covers it for the most part. Feel free to ask questions or comment via comment form below, or send me an email (if you already know it), or use my contact form.